
How to Draw Portraits Starting with the Basic Shape
- Edna Stewart
- Jun 2
- 5 min read

Drawing portraits can feel overwhelming at first. The face has so many details, and capturing a likeness takes practice. But every great portrait begins with a simple step: understanding and drawing the basic shape of the head. This foundation builds your observation skills, hand-eye coordination, and helps you develop your own artistic style.

Let me walk you through a straightforward process to get started with portrait drawing by focusing on the basic shape. You don’t need fancy tools or years of experience—just a few materials and a willingness to practice.
Materials Needed for Starting Your Portraits
Before you begin, gather these simple supplies:
Two sheets of plain 8 x 11-inch paper
Two HB pencils
A red drawing pencil
An eraser (you won’t need it right away, but it will come in handy later)
Having these basic tools ready will keep you focused on learning the shapes and forms without distractions.
Step 1: Observing and Drawing the Basic Form
The first step is to slow down and really look at the shape of the head. The human head is often compared to an egg shape—wider at the top and narrower at the bottom. Don’t worry about getting it perfect. The goal is to become comfortable with seeing and drawing this simple form.
Start by lightly sketching an oval shape on your paper. Think of it as the container for everything else you will add later. This oval is your canvas for the portrait.
Take your time to observe the shape. Notice how the sides curve, how the top rounds, and how the chin tapers. Try to remember these details as you draw.
Step 2: Practice for Hand-Eye Coordination
Now that you have the basic shape, it’s time to practice. Draw twelve egg-shaped heads on your two sheets of paper. This repetition helps your hand and eye work together naturally.
Don’t stress about making each one perfect. Some will be wider, some narrower, and that’s okay. The point is to get a feel for the movement and shape.
As you draw, pay attention to how your hand moves and how your eyes guide it. This practice builds muscle memory and confidence.
Step 3: Taking a Break
After you finish your twelve sketches, step away for about 15 minutes. Do something completely different—take a walk, grab a snack, or listen to music.
This break is important. It lets your eyes rest and resets your perspective. When you come back, you’ll see your drawings with fresh eyes, making it easier to spot what works and what needs improvement.
Step 4: Reviewing and Critiquing Your Work
Now, sit down with your drawings and look at them carefully. Be honest but kind with yourself. What shapes look balanced? Which ones seem off?
This step is about learning to accept constructive criticism from yourself. It’s a skill that will help you grow as an artist.
Try to notice patterns. Are your ovals too wide? Too narrow? Do some have uneven curves? This feedback will guide your next practice sessions.
Step 5: Marking Areas for Improvement
Take your red drawing pencil and gently mark the areas that don’t look quite right. Maybe a curve is too sharp or a side is uneven.
Don’t worry if your marks go outside the shapes. This exercise trains your eye to spot mistakes quickly before you add details to a portrait. The red drawing pencil will help train the eye when you get commissioned for a portrait. This will come in handy.
This step also helps you develop your unique style. Just like handwriting, your drawing style is personal and evolves with practice.
If you want to explore more traditional methods, consider searching for old drawing books like the Famous Artist Course. These books have a wealth of knowledge and can often be found on eBay or in old bookstores. They offer timeless advice that complements modern techniques.
Step 6: Practicing for Best Performance
Practice this exercise whenever you feel inspired. Drawing when you’re motivated leads to your best work.
Try to tune into your creative energy and follow its natural flow. This intuitive approach makes practice feel less like a chore and more like a discovery.
Remember, the goal is progress, not perfection.
Step 7: Tracking Your Progress
Keep all your drawings in a folder or sketchbook. Over time, you’ll be able to look back and see how much you’ve improved.
Tracking your progress is motivating. It shows you that every line you draw is a step forward.
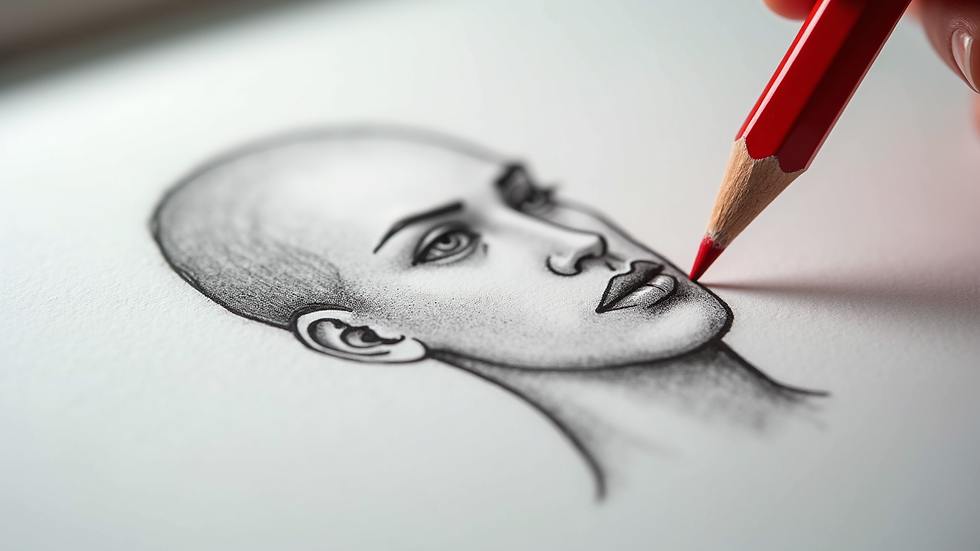
Close-up view of a red pencil marking uneven areas on an oval head sketch.
Recommended Drawing Tools for Beginners
While simple pencils and paper are enough to start, having quality tools can make your practice more enjoyable.
For example, the Staedtler Mars Lumograph HB Pencil is a favorite among artists for its smooth graphite and consistent line quality. It’s perfect for sketching basic shapes and adding details. You can check it out here.
Another great option is the Faber-Castell Polychromos Red Pencil. It’s ideal for marking corrections and highlighting areas for improvement, just like in Step 5. Its vibrant color stands out without smudging. Find it here.
Using these tools can help you focus on your drawing without worrying about your materials.
Finding Inspiration in Classic Drawing Books
If you want to deepen your skills, I highly recommend looking for classic drawing courses like the Famous Artist Course. These books were created decades ago but still offer valuable lessons on form, proportion, and style.
You can often find them on sites like eBay or in secondhand bookstores. They provide structured exercises and insights from master artists that can complement your practice.
Exploring these resources can give you a broader perspective and inspire new approaches to your portrait work.

High-angle view of a vintage drawing book open to a page about head shapes.
Drawing portraits starts with simple shapes. By focusing on the basic oval form of the head, practicing regularly, and reviewing your work honestly, you build a strong foundation. This foundation supports every detail you add later, from eyes to hair.
Remember, every artist’s style is unique. Use these exercises to find yours. Keep practicing when you feel inspired, and track your progress to see how far you’ve come.
If you want to explore quality tools, consider the Staedtler Mars Lumograph HB Pencil and the Faber-Castell Polychromos Red Pencil. They are excellent companions for your portrait journey.
And don’t forget to check out classic drawing books like the Famous Artist Course for timeless advice and exercises.
Start simple, stay consistent, and enjoy the process of bringing faces to life on paper.
Happy drawing!


Comments